Stable Diffusion 动画制作脚本 – Multi frame Video rendering
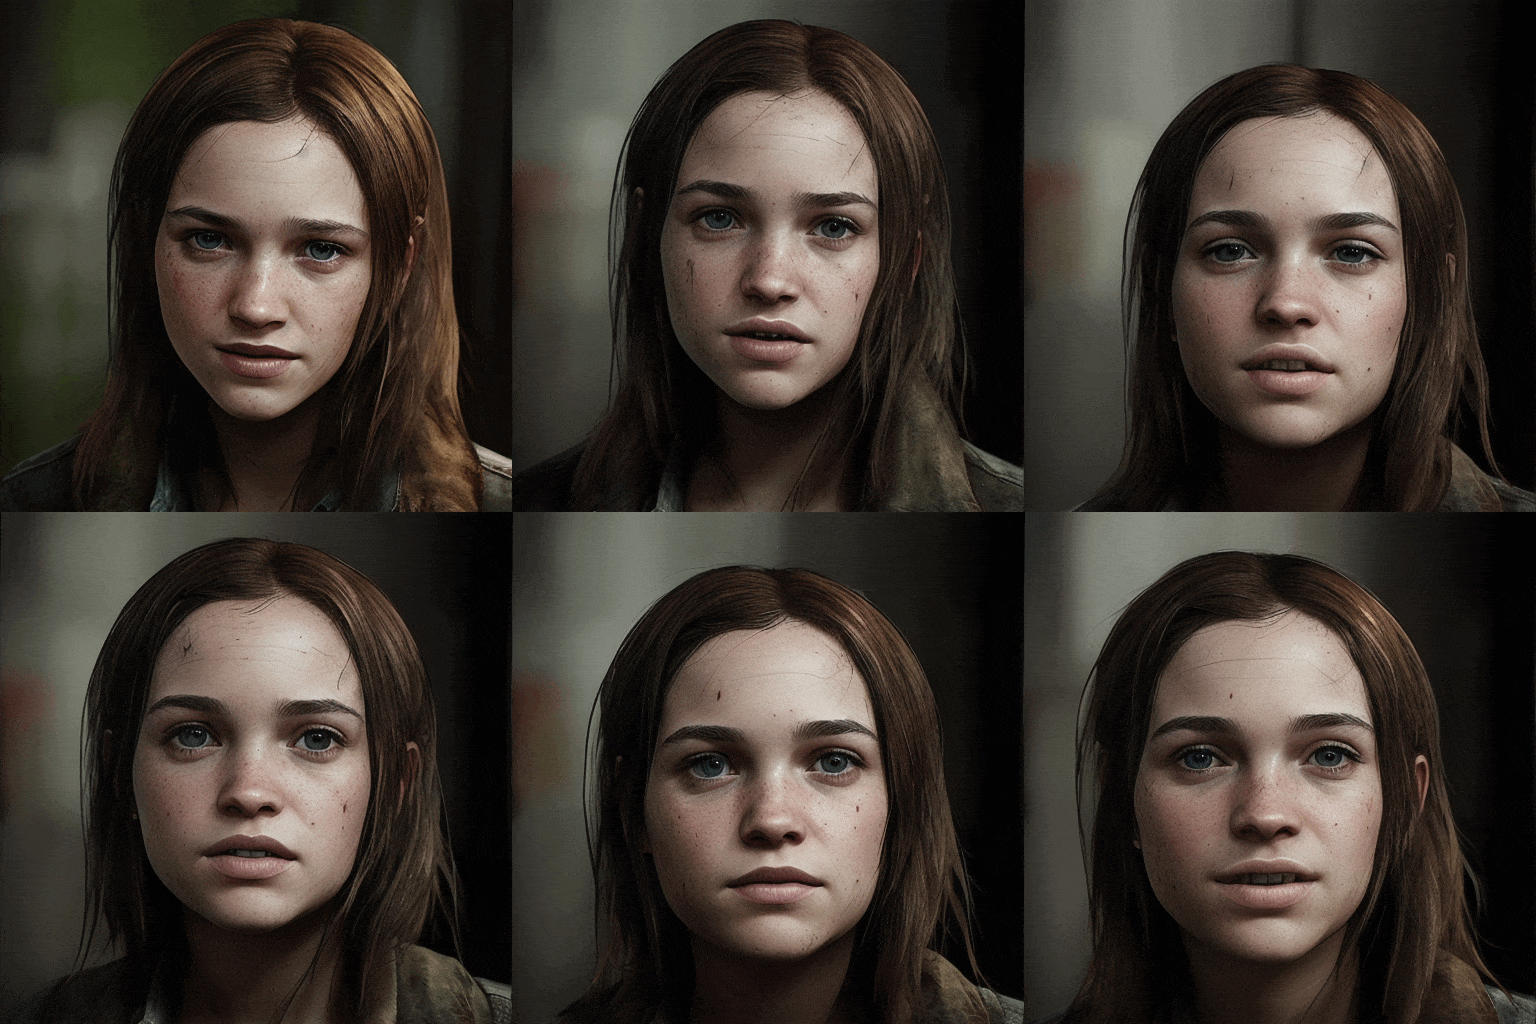
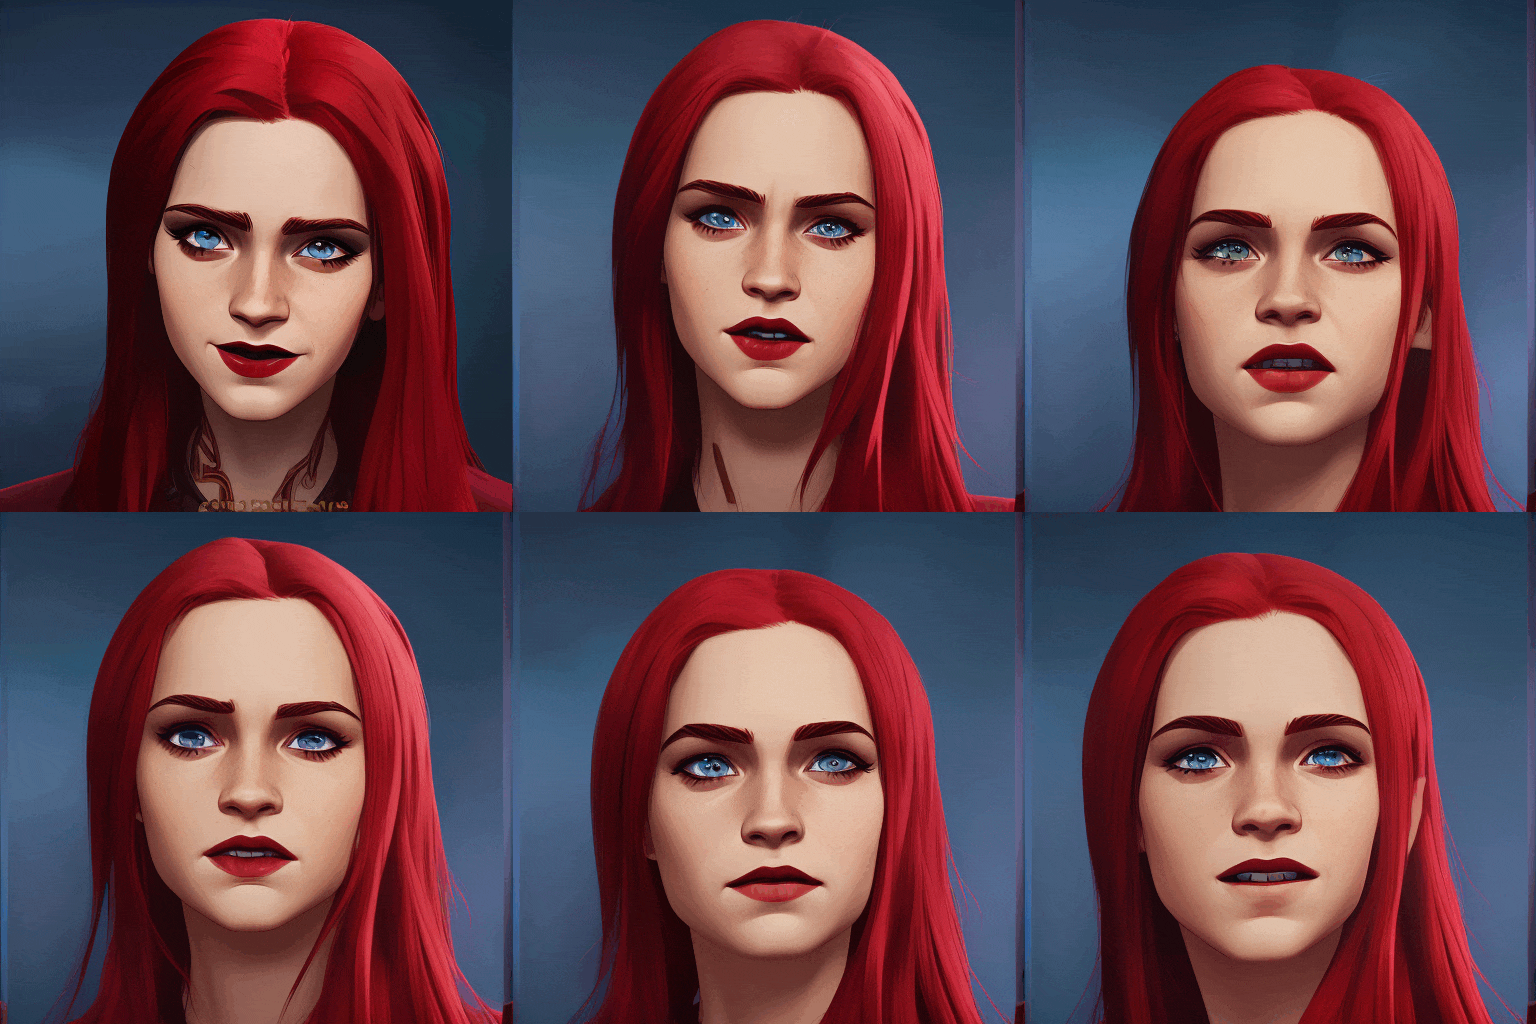
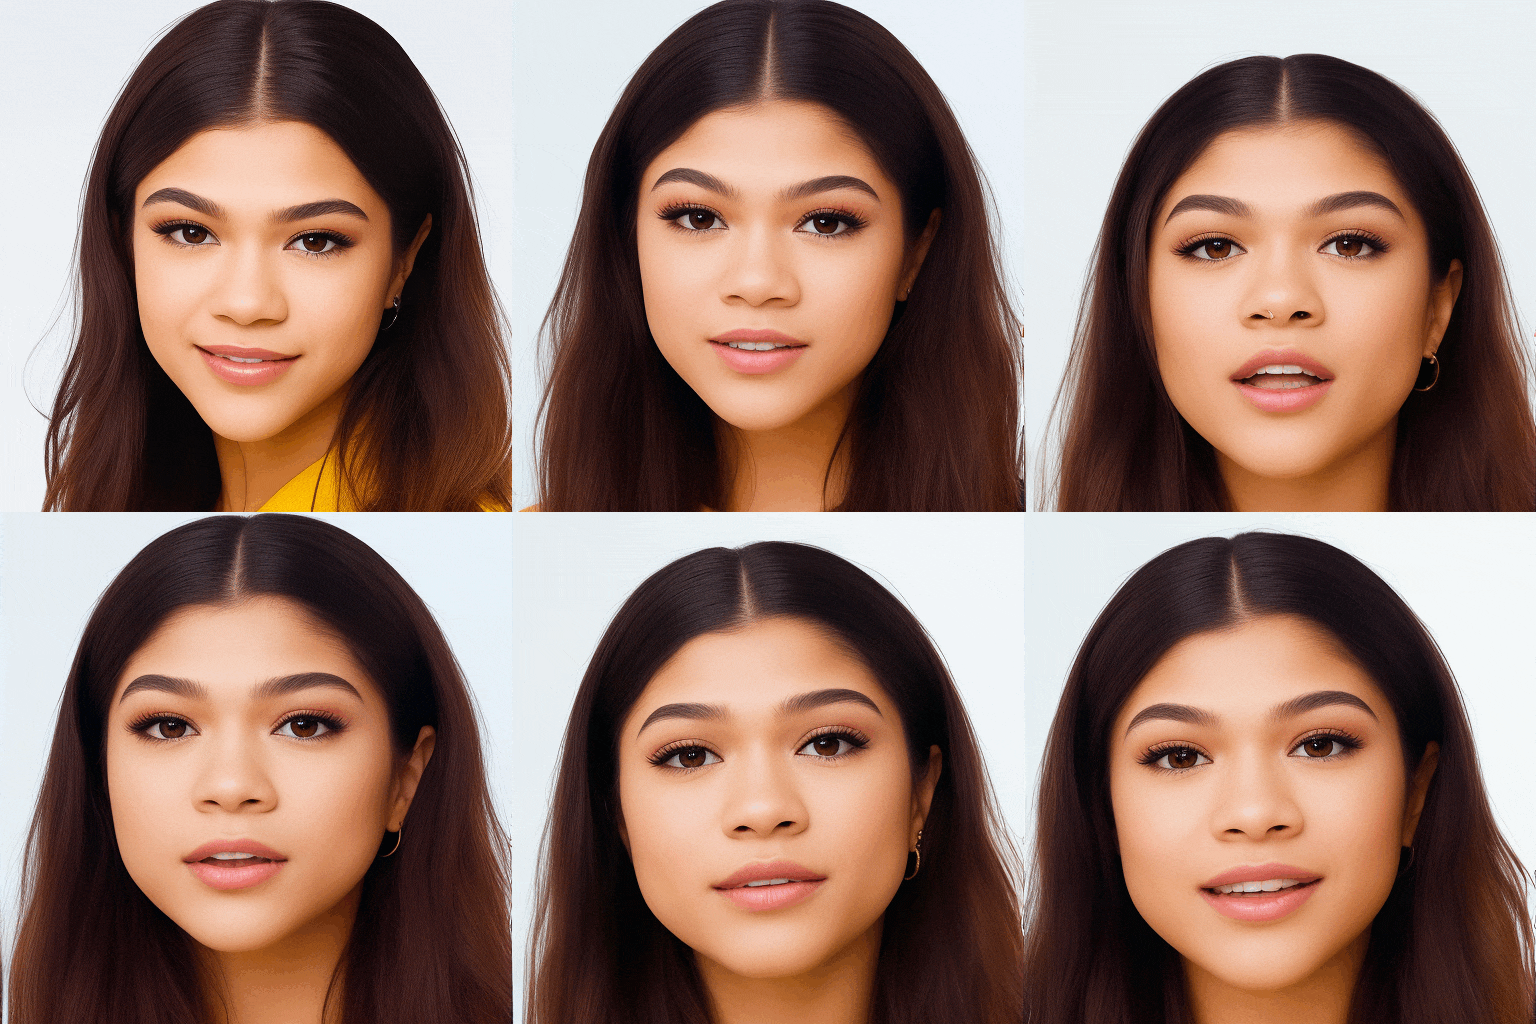
- This is a Script for the Automatic1111 UI of StableDiffusion
- I have tested it with non-face videos and it does very well, I just worked a lot with a specific video and it makes it easier to compare
- None of the animations shown have been edited outside of the script, other than combining the frames into gifs.
- They used public models with no embeddings, hypernetworks, lora, or anything else to further aid with consistency.
- No deflickering process was run on them, no interpolation, and no manual inpainting.
- This is beta and mostly a proof-of-concept at this point. There’s a lot to work out since this is all so new, so it’s nowhere near perfect. You can try to mitigate some issues by using custom art styles and embeddings, but it’s still a ways off from being perfect.
Multi-frame Video Processing
This project is my attempt at maintaining consistency when animating using StableDiffusion.
It borrows from previous work I did in attempting to train a model for split-screen animations to generate 360 views of characters. With the advent of ControlNet I found that far more could be done by using the split-screen/film reel technique and so I’m trying to workout how to best utilize it.
How it works (basics):
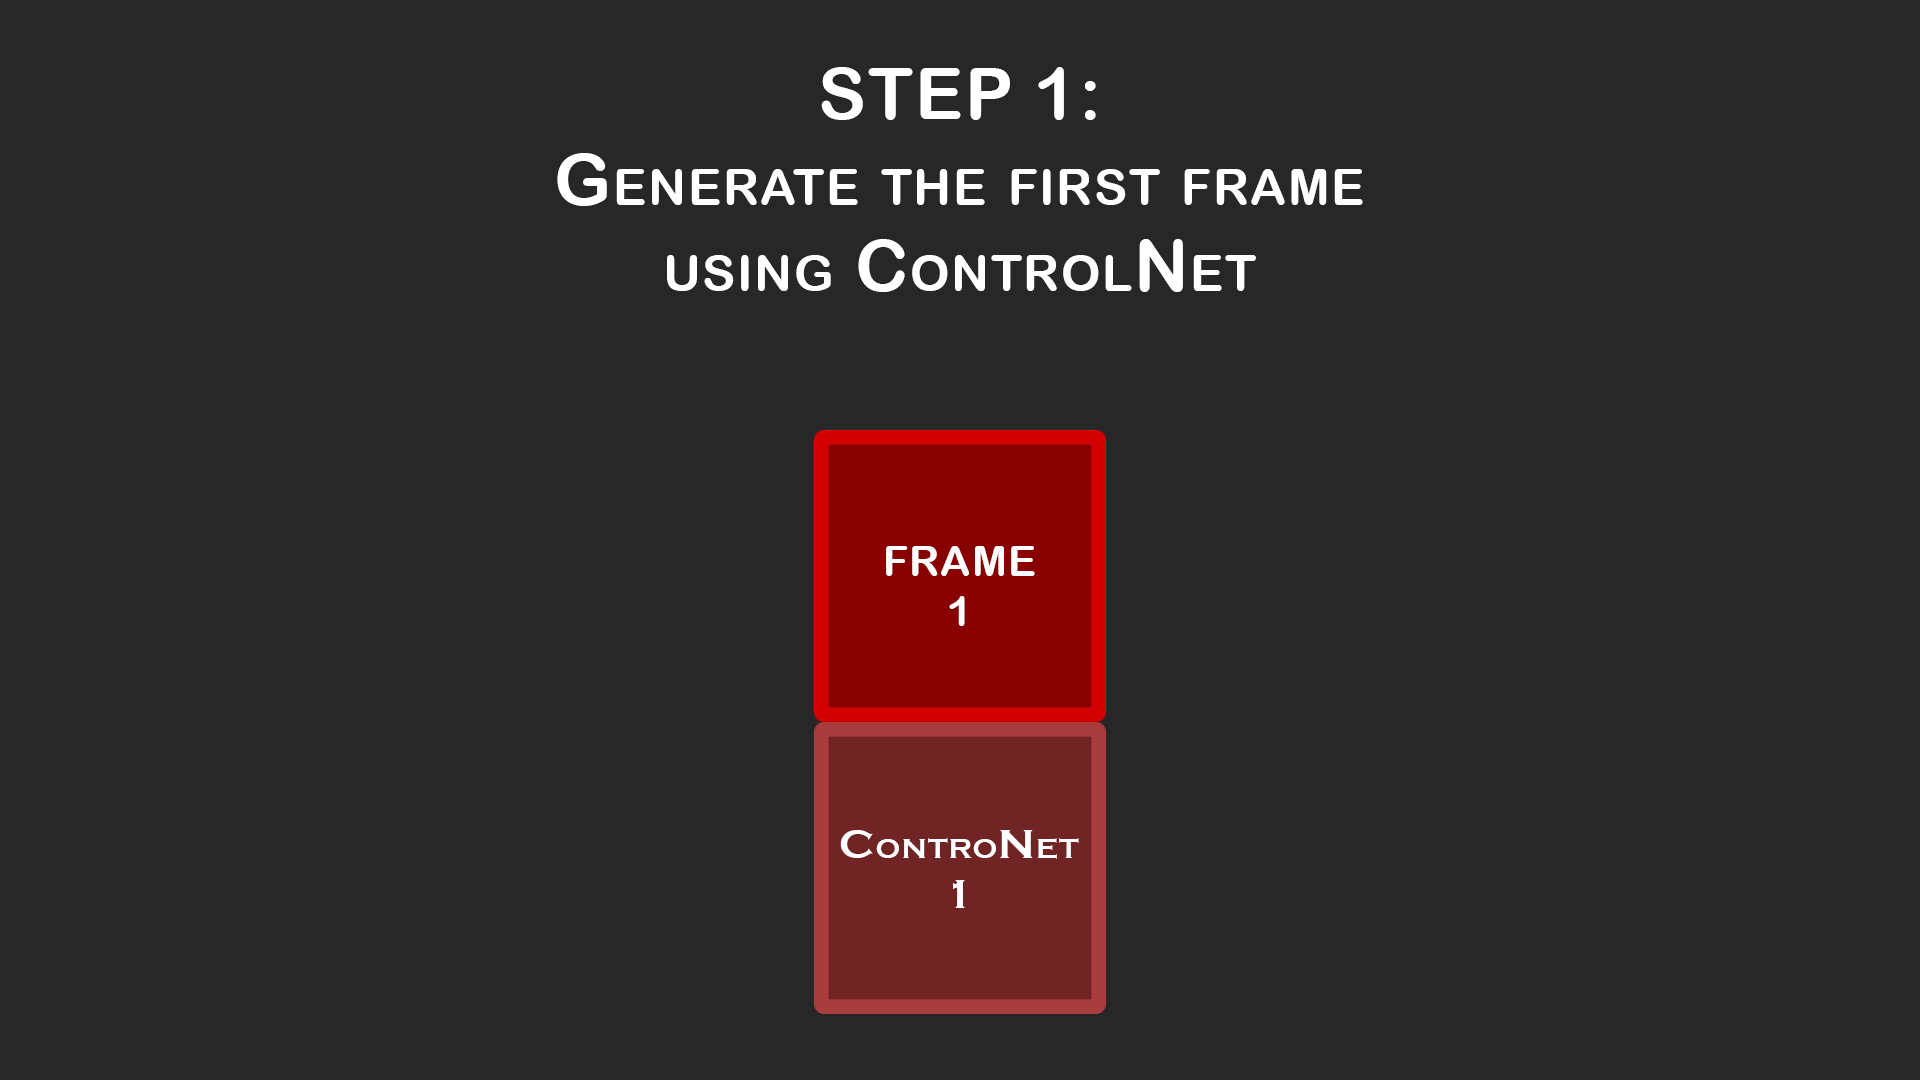
You can set denoising strength to 1 on here and just use ControlNet to guide it to whatever pose and composition you need for the first frame of your animation. Take your time to get a good result since this first frame will guide the rest of the animation.
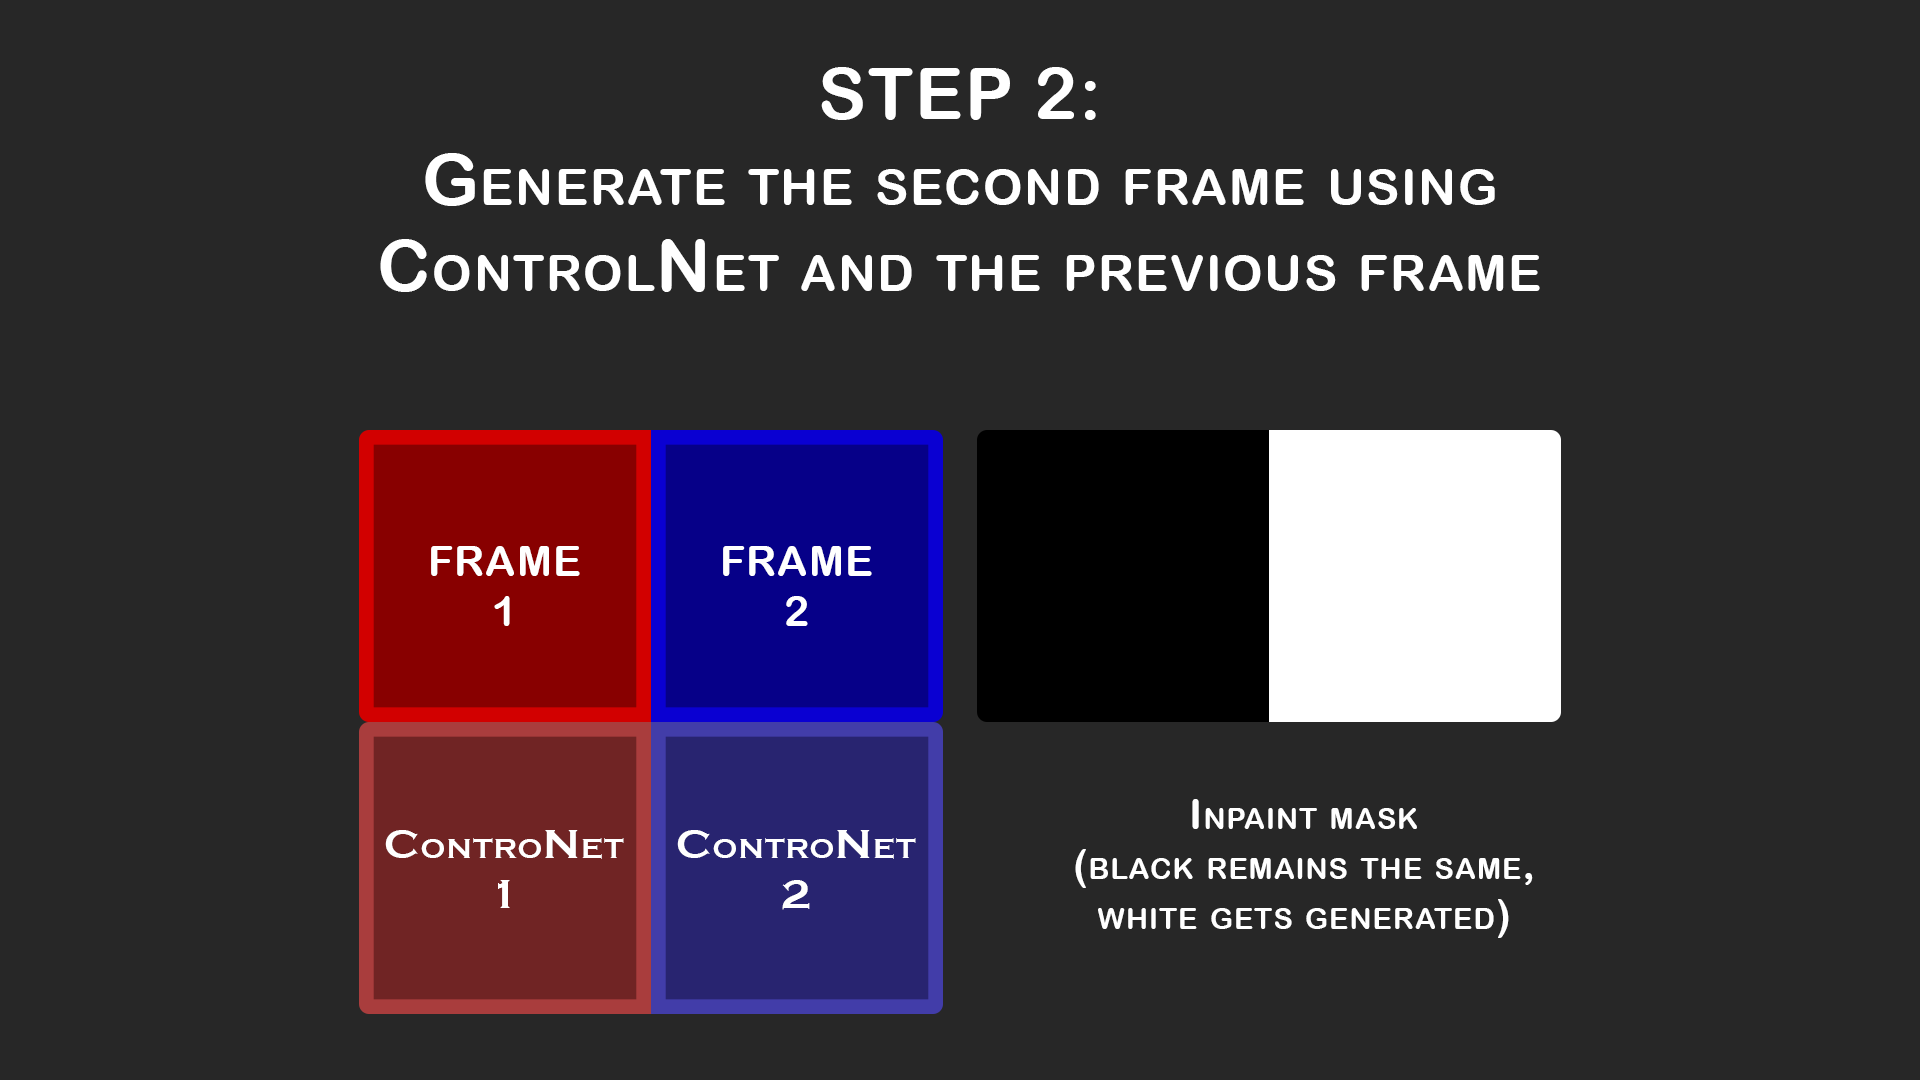
The Script automatically uses the first frame in order to create the second frame by creating a split-screen iput image, similar to a horizontal film reel. The previous frame becomes the base image for frame 2 before the img2img process is run (aka loopback).
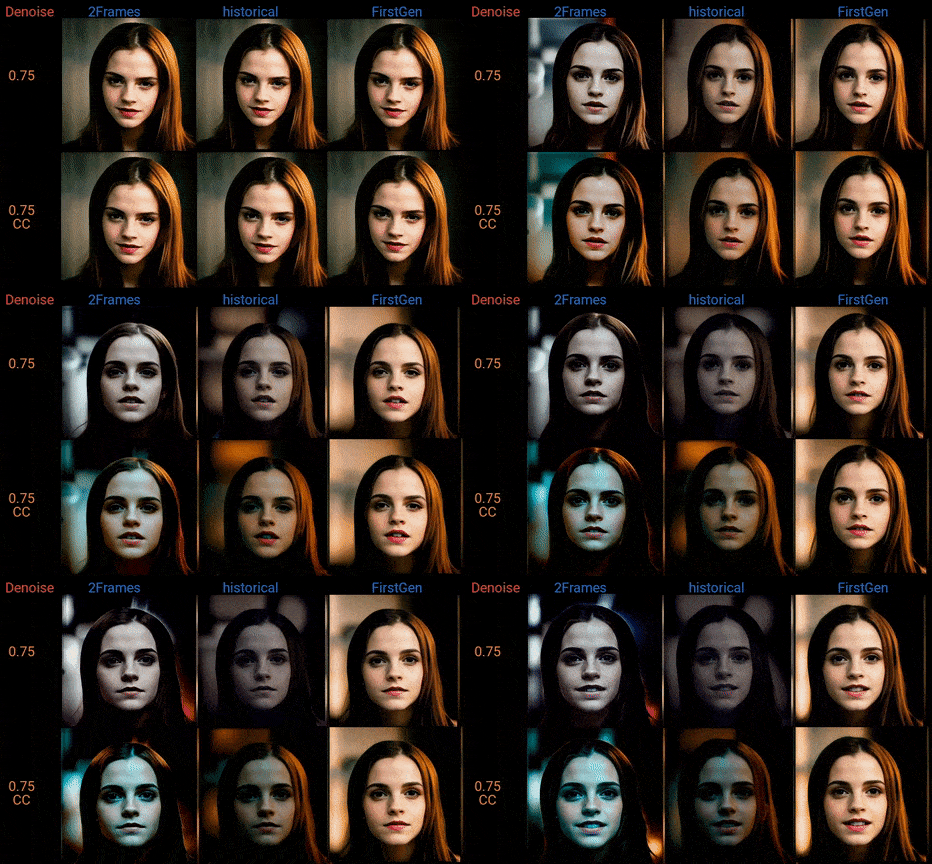
Note that almost every animation shown here has denoising strength set to 1.0 and so the loopback doesn’t actually occur. Looping back with a strength of 0.75-0.8 does seem to make it a little more stable, but be sure to enable color correction if you have denoising below 1.0 otherwise there’s color drift.
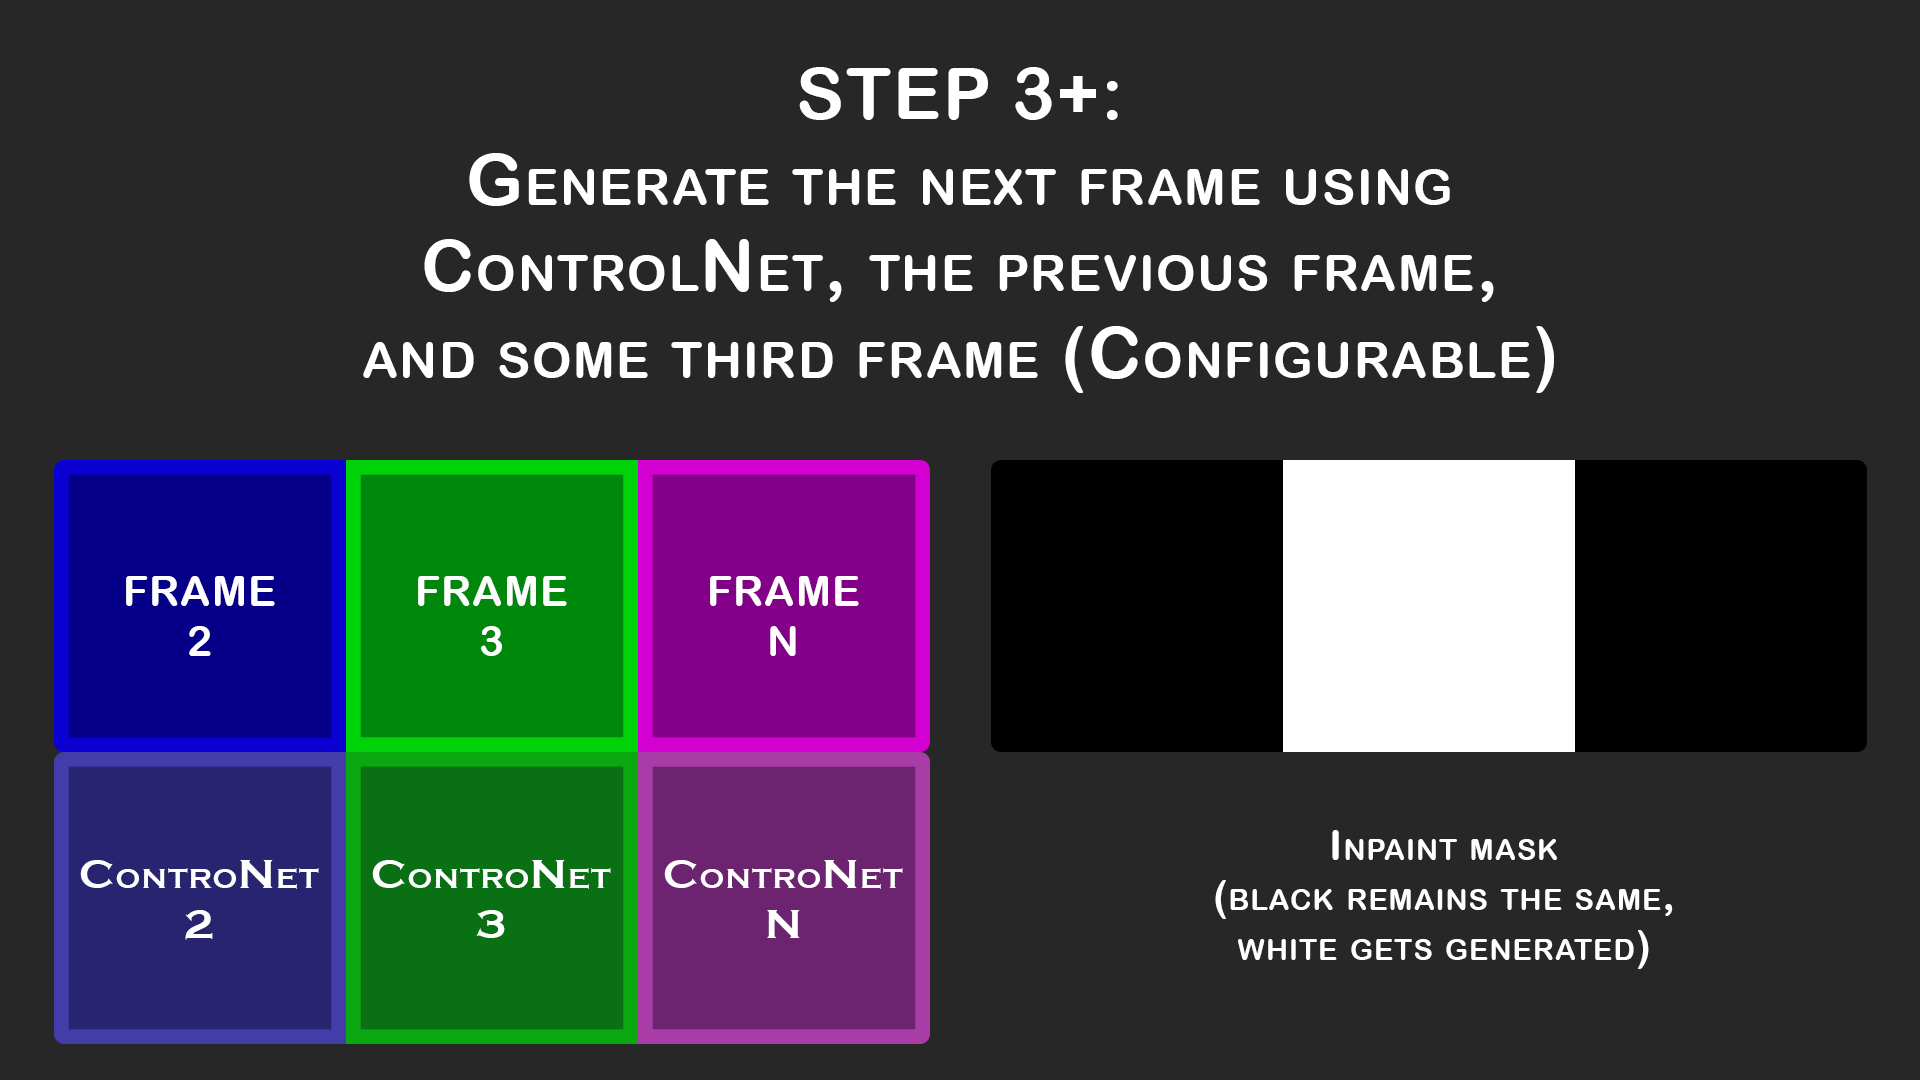
Similar to what happened to generate Frame 2, the remainder of the frames also use a horizontal film reel setup. It’s setup the same as before except that we add another image onto the right side. Since we don’t actually know what that frame will be, we instead place an existing frame in that spot in order to act as more guidance. I find that the best option for this is “FirstGen” which means the very first frame of the animation is always the last frame for these. It helps reduce color drifting although if the animation changes a lot and this isn’t practical, then “Historical” is another great option since it uses one step further back (so in the example above it would be frame 2, then 3, then 1 when generating frame 3).
Installation:
Install the Script by placing it in your “stable-diffusion-webui\scripts\” folder


